-
Notifications
You must be signed in to change notification settings - Fork 9
PartDesign Pattern Tutorial

Featuring:
Complexity: intermediate
Requires: FreeCAD v0.17 or later, Lattice2 add-on installed
We create an irregular array of latches in a PartDesign Body, with latch modeled as another body.
- Model a latch
Let's create a latch optimized for injection molding. It has a hole in base plate, to simplify the mold.

Do it however you like. But:
- baseplate (not part of the latch) must be the first feature of the body
- the pocket cutting the hole under the latch should have quite a margin for maximum versatility of the latch body.
- do not use fillets, chamfers, thickness, drafts, and native PartDesign Patterns, as these are not supported by Lattice PartDesign Pattern yet.
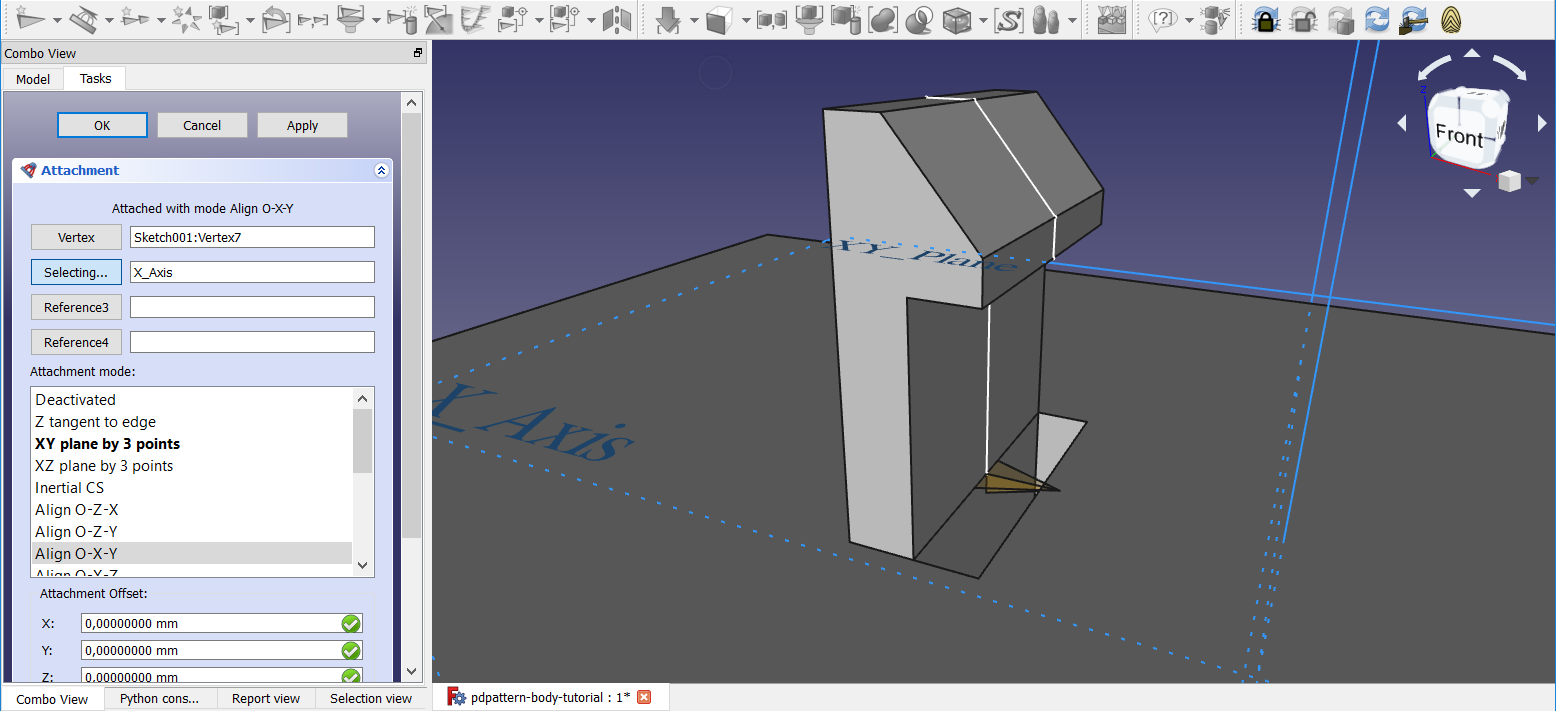
- Attach a reference placement
Use Attached Placement to create one:
![]()
Or you can use a plain moveable placement aligned by hand or by expressions, it doesn't matter how you create the placement.
Reference placement is like a handle for pick-and-placing your latches. The most convenient place for this tutorial is center of the latch, at its root, right where the edge of the thing to be held by the latch touches it. You can have as many different reference placements as you like, for uses in different situations.

- Model a part

Use any PartDesign tools, no limitations now.
- Create a sketch for making an array of placements
Draw an L shape for each occurence of the latch. Make sure to draw the L-shapes in a consistent direction and chirality (for example, start with line parallel to the latch, in ccw direction, and finish with a line setting the direction of latch). Use sketcher's Clone/Array tools to your advantage.

- Attach a single placement to the first L of the sketch.
Use Attached Placement tool:
![]()
Attach the placement to the first L-shape of the sketch, the one which has Edge1 and Edge2.

You will likely have to fiddle with attachment offset angles to get the right orientation. Make sure the paper plane is placed so that if you pick the latch with its reference placement, and put it where you want, the reference placement whould then line up with the placement we are attaching now.
- Array an attached placement
Boom! Array.

If the array is missing some occurences, you probably attached the placement at step 5 to non-first L shape. You can just change PlacementSubsequense's 'Cycle Mode' to Periodic.
- Lattice PartDesign Pattern
Select latch body, reference placement, and the array (order of selection matters!).
Apply Lattice PartDesign Pattern
![]()

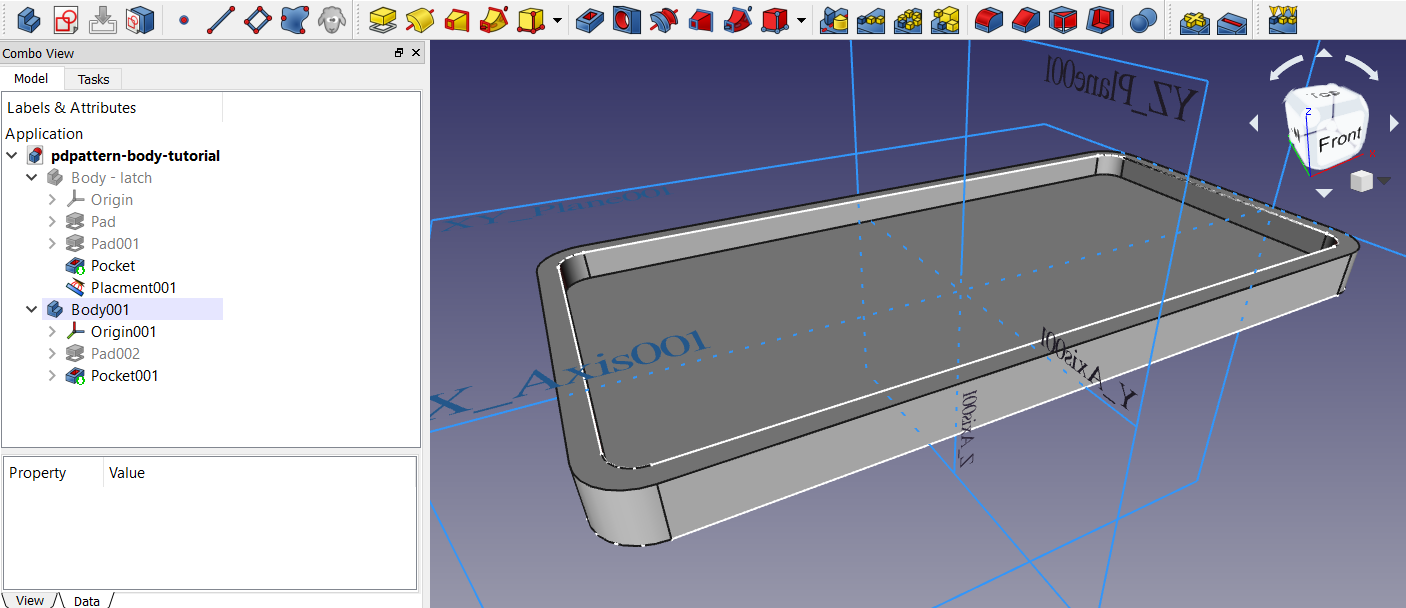
You should get a broken result...

The result is broken, because LatticePattern replicates the baseplate of the latch body. This causes self-intersection. You can change LatticePattern's 'Selfintersections' to true to obtain a non-broken result with all the baseplates, but we want to get rid of them. so...
- change LatticePattern's 'SkipFirstInBody' to
True

And we are done!

Notice that we have holes in our part. LatticePattern doesn't fuse up the whole body - it replays every feature of the latch body
Lattice Pattern generally has the same restrictions as PartDesign Patterns do. However there are important differences:
- Lattice Pattern can copy other Lattice Pattern (i.e., avoids the need for Multitransform container)
- Lattice Pattern does not support mirroring yet, at all.
- Lattice Pattern can copy PD boolean feature, if it is not in
Commonmode - Lattice Pattern can copy features from other bodies, and whole bodies worth of features (as shown in this tutorial).
Lattice Pattern has a few more properties that alter its behavior, not mentioned in this tutorial. It alows to invert signs of features, for example.
Introduction to Lattice workbench
Boolean operations on arrays, Compound structure
Shape-driven arrays, Draft arrays in Lattice2
"Subsequencing" (sublink iteration, TopoSeries)
- (common pieces)
-- Common properties of placement features
-- Common properties of array generators
- (features)
-- Single Placement
-- Attached Placement
-- Array an attached Placement
-- Linear Array
-- Polar Array
-- Array From Shape
-- Invert placements
-- Join Arrays
-- Array Filter
-- Project Array
-- Resample Array
-- Populate With Copies
-- Populate With Children
-- Mirror
-- PartDesign Pattern
-- Downgrade
-- SubLink
-- Subsequence
-- Make Compound
-- Compound Filter
-- Fuse Compound
-- Bounding Box
-- Shape String
-- ParaSeries
-- TopoSeries
-- Shape info feature
- (tools)
-- Explode Array
-- Explode Compound
-- Inspect tool
-- Substitute Object
-- Expose links to subelements
-- Recompute controlling tools