-
-
Notifications
You must be signed in to change notification settings - Fork 32
Quick start
Davide Perini edited this page Aug 2, 2024
·
95 revisions

- You don't need to be a developer
- You don't need to be an electrical engineer
- You don't need a lot of time to complete the job
- A
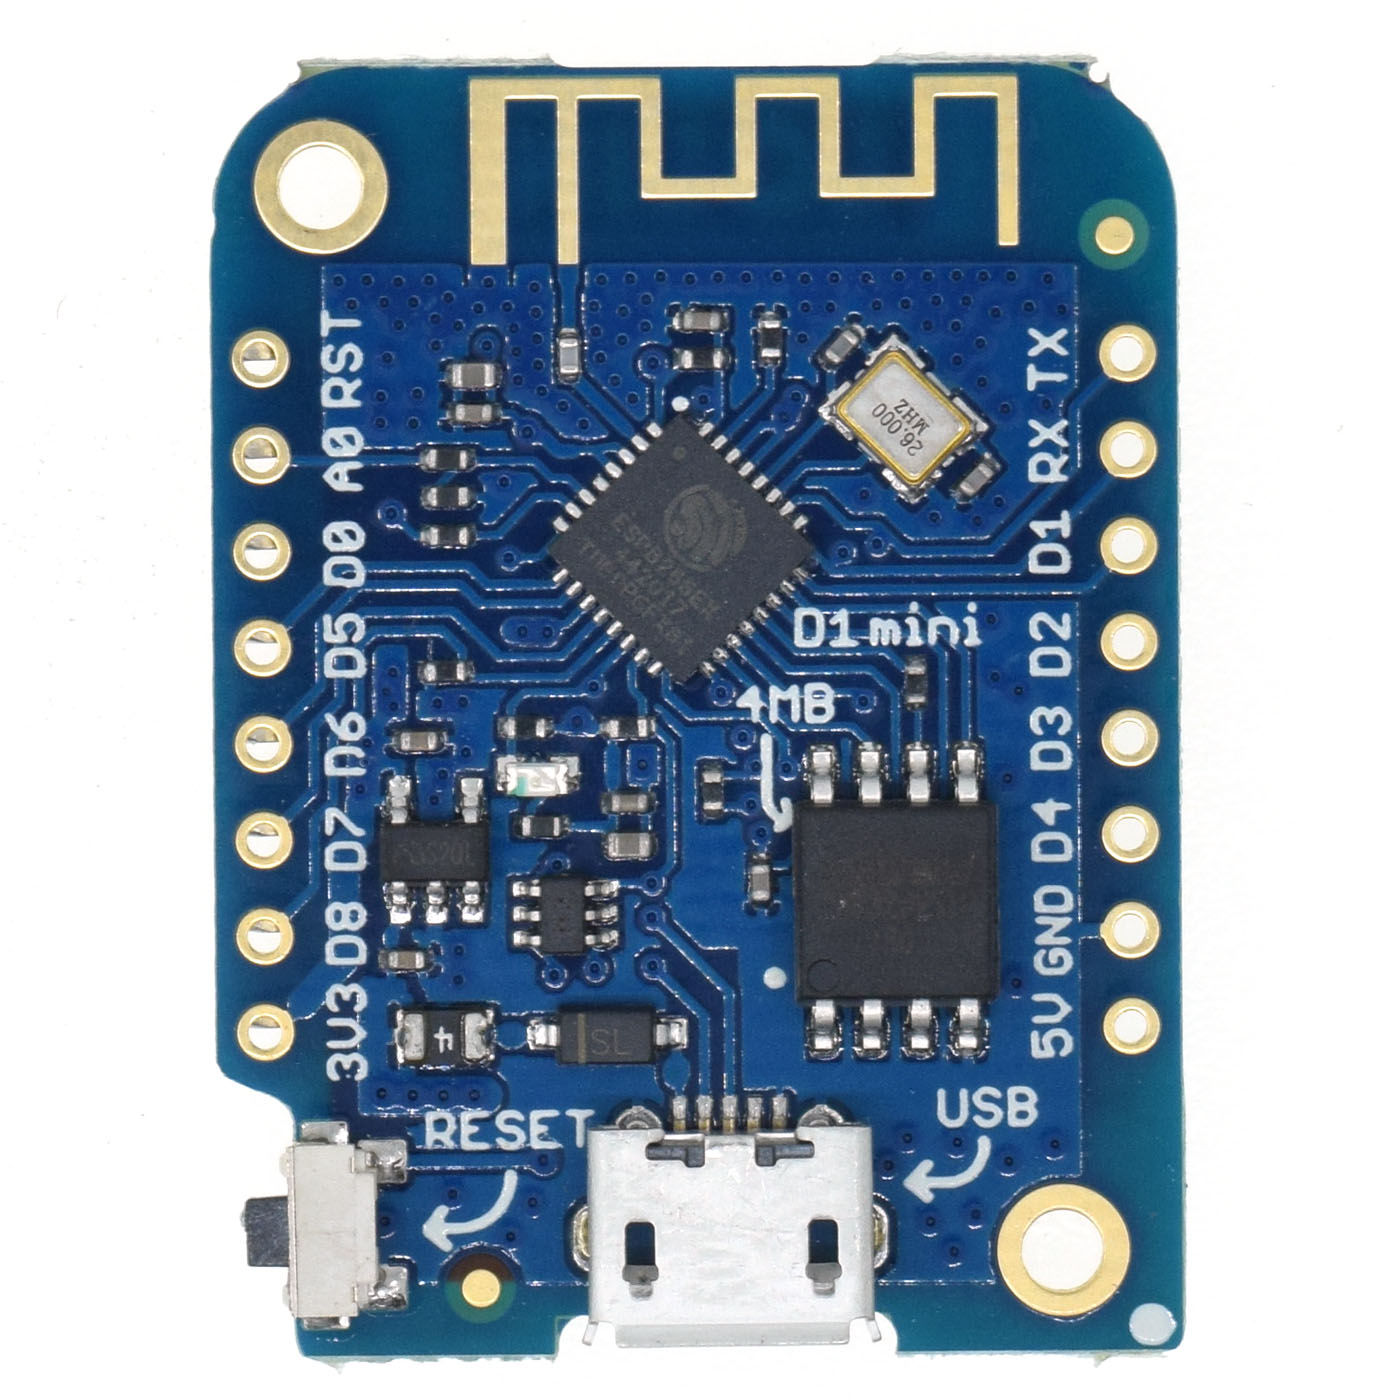
Windows PC or Linuxfor the screen capture (macOS will be supported soon), captured images are sent to the LED strip that should be positioned behind the monitor. - A cheap microcontroler,
ESP8266orESP32are the recommended ones. - A
WS2812B5V RGB LED strip or aSK68125V RGBW LED strip - A
power supplyfor the LED strip -
[OPTIONAL] An
MQTT Serveror an Home Automation system ex:Home Assistant,OpenHAB, ecc.
ESP8266 and ESP32 are the preferred microcontrollers, they are cheap, they are extremely stable, and they have built in WiFi.
- Please install the firmware using the web browser based installer or if you prefer, you can
download the firmware from here and then use your favourite flash tool.
FULL firmware version adds support for remote control and automatic updates, if you flash FULL version you MUST configure WiFi or Ethernet. With FULL firmware USB connection is optional.
If you flash LIGHT firmware you MUST use a USB cable.
NOTE: Driving LEDs via WiFi/Ethernet is faster than USB and it is the recommended method if WiFi signal strength is good or if you have a microcontroller that supports ethernet.
 Note: If you want to use the FULL firmware without using a USB cable you need to connect the 5V microcontroller's PIN to the power supply.
If you have a low quality microcontroller, capacitor, resistance and logic level converter helps "stabilizing the circuit".
WS2812B led strip is cheap and easy to use and it looks awesome, 5V is easy to manage with a microcontroller, buy a compatible power supply and you are set.
If you don't want to design your own PCB you may look at the compatible hardware section.
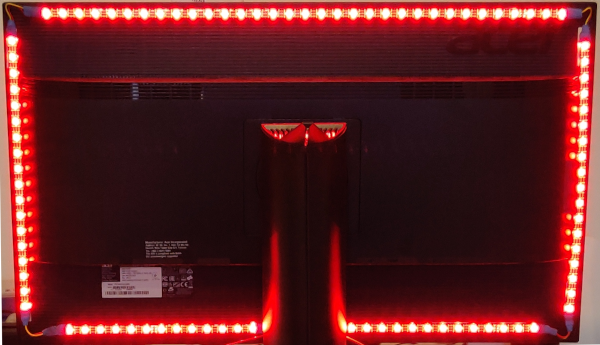
- This is an easy step, a little bit of double sided tape, easy to remove, easy to fix.
NOTE: If you want to use the automatically generated configuration, your first LED should be positioned in the bottom half of your monitor. LED strip can be placed clockwise or anticlockwise.

- Please download and install
Firefly Luciferinon your PC, you can download it from here - Once installed the software, start it and select the firmware type you previously installed (
Full firmwareorLight firmware).

- enter the number of LEDs you are using in the
LEDs configtab, the orientation of your LED strip and click Save,
Luciferin will start an auto discover of your Glow Worm Luciferin device.

- Bias lighting can be started by double clicking
Firefly Luciferintray icon. - You can continue reading the Wiki to discover more features configure Firefly Luciferin for FULL firmware.
NOTE: By defaults Glow Worm Luciferin firmware is able drive 100 LED, once you start theBias Lighteffect, Firefly Luciferin program the firmware with the number od LEDs you configured in the "LEDs config" tab.9
- Compatible hardware
- Official PCBs (with Case)
- RGB and RGBW support
- Supported GPIO and Baud Rate
- Device reset
- How to set up multiple monitors
- Power saving features
- Hardware button
- Surround lighting with satellites
- Color temperature and Gamma
- Color grading: HSL tuning
- Light effects
- Smoothing color transitions
- Aspect ratio
- Eye care and night mode
- Themes
- Profiles
- Group LEDs
- Test image and latency test
- Update management
- Static IP and auto discovery
- Tray icon shortcuts
- Linux support
- Using the Access Point
- Home Assistant integration
