An automated aquarium control system that manages lights, filters, skimmers, and power heads with WiFi control, timers, and visual feedback.
- Control 4 different aquarium components independently
- WiFi-enabled remote control via web interface
- Automatic timers with customizable schedules
- Real-time clock with auto time sync
- OLED display showing status and temperature
- OTA (Over The Air) firmware updates
- Power saver modes for equipment
- Visual feedback with WiFi signal strength indicators
- NodeMCU-ESP8266 Development Board ESP12E
- 4 Channel 5V Relay Board Module with Optocouplers
- DS3231 AT24C32 IIC Precision RTC
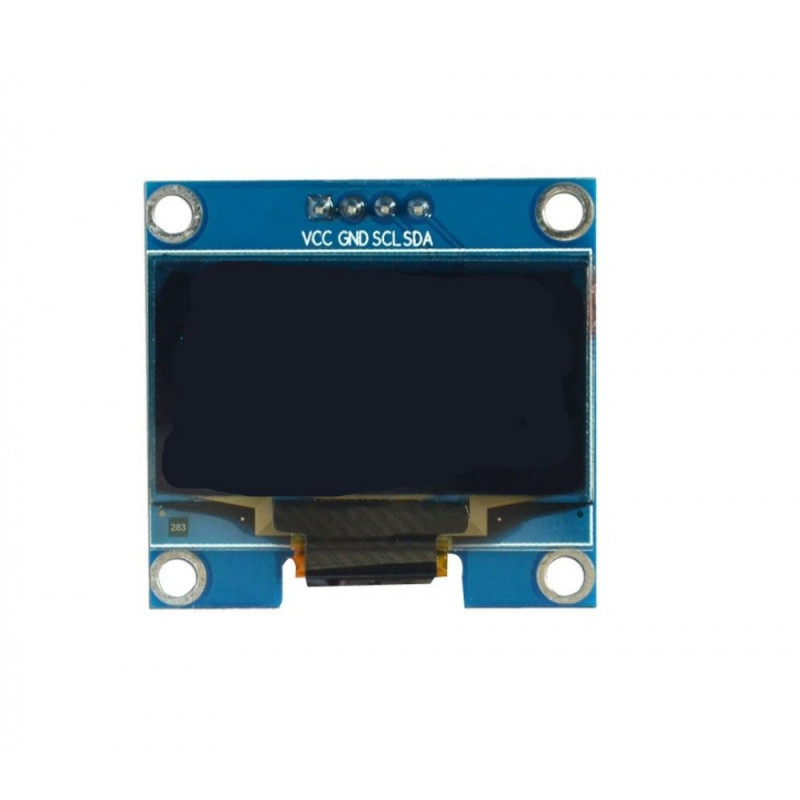
- 1.3 Inch I2C IIC 128x64 OLED Display Module (White)
- Appropriate power supplies for NodeMCU and relays
| NodeMCU | Device |
|---|---|
| D1 | SCL |
| D2 | SDA |
| 3.3V | VCC |
| GND | GND |
Note: Both I2C devices share the same pins
| NodeMCU | Relay |
|---|---|
| D3 | In1 |
| D5 | In2 |
| D6 | In3 |
| D7 | In4 |
-
Add ESP8266 board support:
- In Arduino IDE: File → Preferences → Additional Boards Manager URLs
- Add:
http://arduino.esp8266.com/stable/package_esp8266com_index.json
-
Install Required Libraries:
- DS3231 (from https://github.com/NorthernWidget/DS3231/releases)
- Other libraries via Arduino IDE Library Manager:
- Adafruit GFX
- Adafruit SSD1306
- ESP8266WiFi
- NTPClient
-
Configure WiFi:
- Open
aqua_NODEMCU.ino - Update
STASSIDandSTAPSKwith your WiFi credentials
- Open
-
Power Supply: Use separate power supplies for NodeMCU and relay board
- Do not power relays from NodeMCU
- Connect GND of both power supplies if using separate supplies
-
I2C Troubleshooting: If experiencing I2C address conflicts:
- Check device addresses
- Adjust pull-up resistor values
- Ensure proper power supply to I2C devices
Access the control panel by navigating to the NodeMCU's IP address in a web browser. Features:
- Manual/Auto mode switching
- Timer controls
- Power saver modes
- Temperature monitoring
- Time synchronization
For questions or issues, please contact through: https://iotthings.pythonanywhere.com/contact
This code is provided as-is without any warranty. Use at your own risk.


