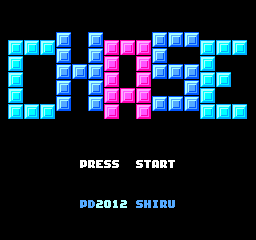
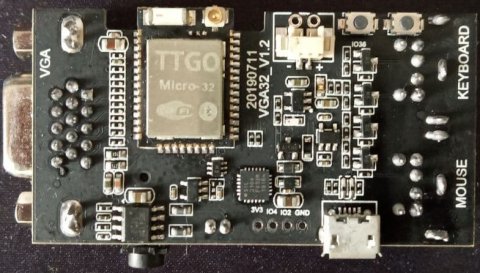
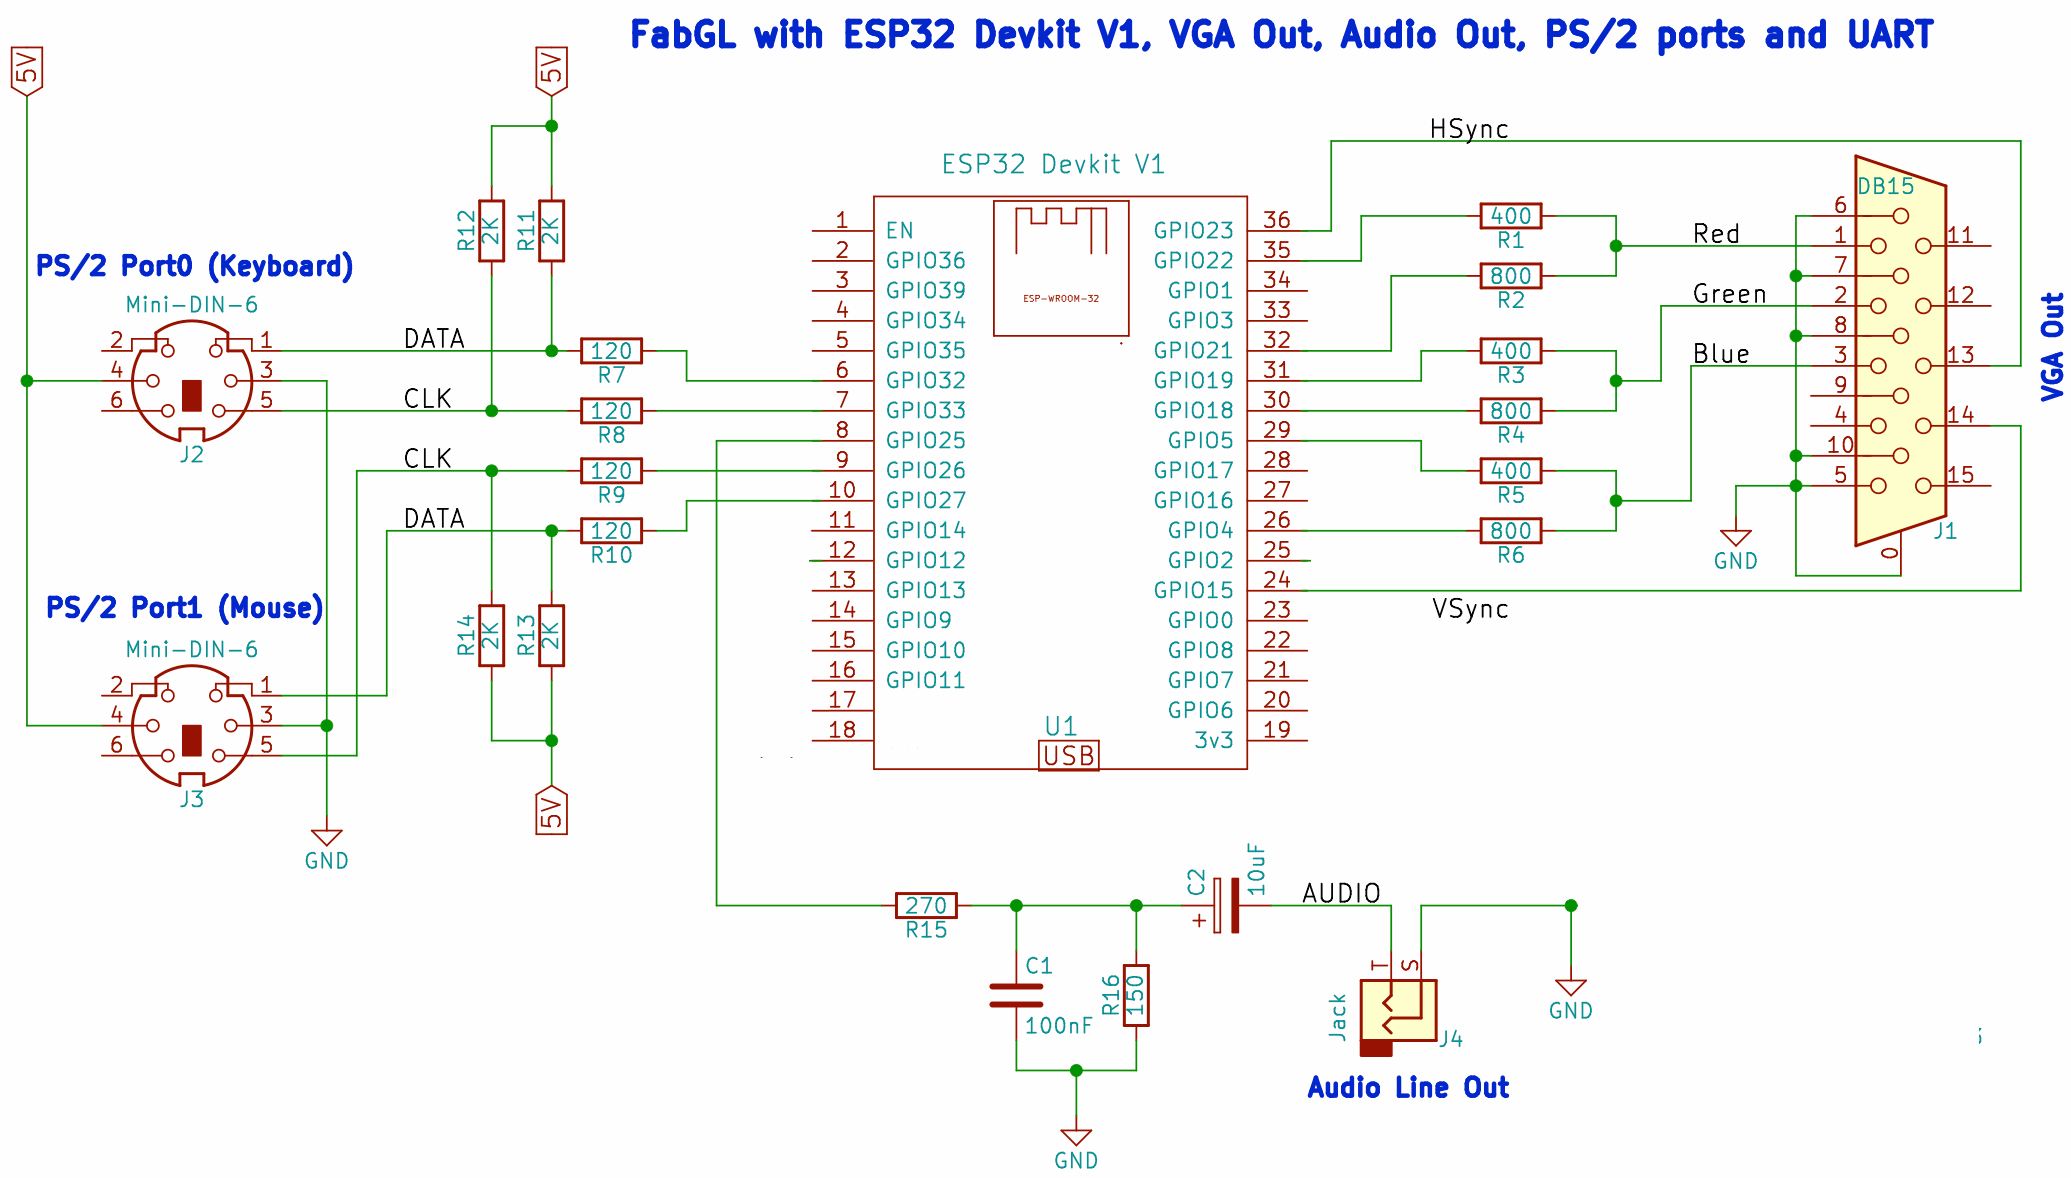
Port of Jens Nyberg's NES Master PC emulator to TTGO VGA32 v1.x (1.0, 1.1, 1.2, 1.4) board with ESP32.
- Ported from x86 PC to ESP32
- No PSRAM is used, running on ESP32 with 520 KB RAM (TTGO VGA32 v1.x).
- Use of a single core
- Low resource OSD
- Created project compatible with Arduino IDE and Platform IO
- Web Editor and ArduinoDroid (6.3.1) compatible project with tool makeandroid.bat
- Emulation of ricoh2A03 (fabgl library) reduced version of dcrespo3d(David Crespo Tascón)
- Screen adjustment X
- Emulation CPU speed menu (AUTO), sound, keyboard
- Support for 8 and 64 color mode (reduced version by Ricardo Massaro).
- VGA 320x240
- It is recommended to use only single cartridges without bank switching.
- A 3-channel DIRTY Sound is used which is not faithful to the real emulation.
- Up, down, left, right cursors
- X key (button A), Z key (button B)
- C key (SELECT button), V key (START button)
Required:
- TTGO VGA32 v1.x (1.0, 1.1, 1.2, 1.4)
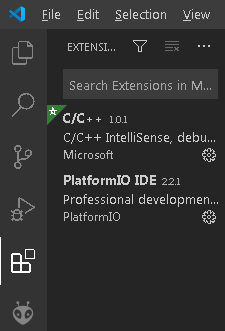
- Visual Studio 1.48.1 PLATFORMIO 2.2.1 Espressif32 v3.3.2
- Arduino IDE 1.8.11 Espressif System 1.0.6
- ArduinoDroid (6.3.1)
- Arduino fabgl 0.9.0 reduced library (included in PLATFORMIO project)
- Arduino bitluni 0.3.3 reduced library (included in project)
At the end, the script itself ends up deleting the dataFlash directory.
The script uses fart.exe (find and replace text).
Once, it has been successfully executed, it can be used with the ArduinoDroid.
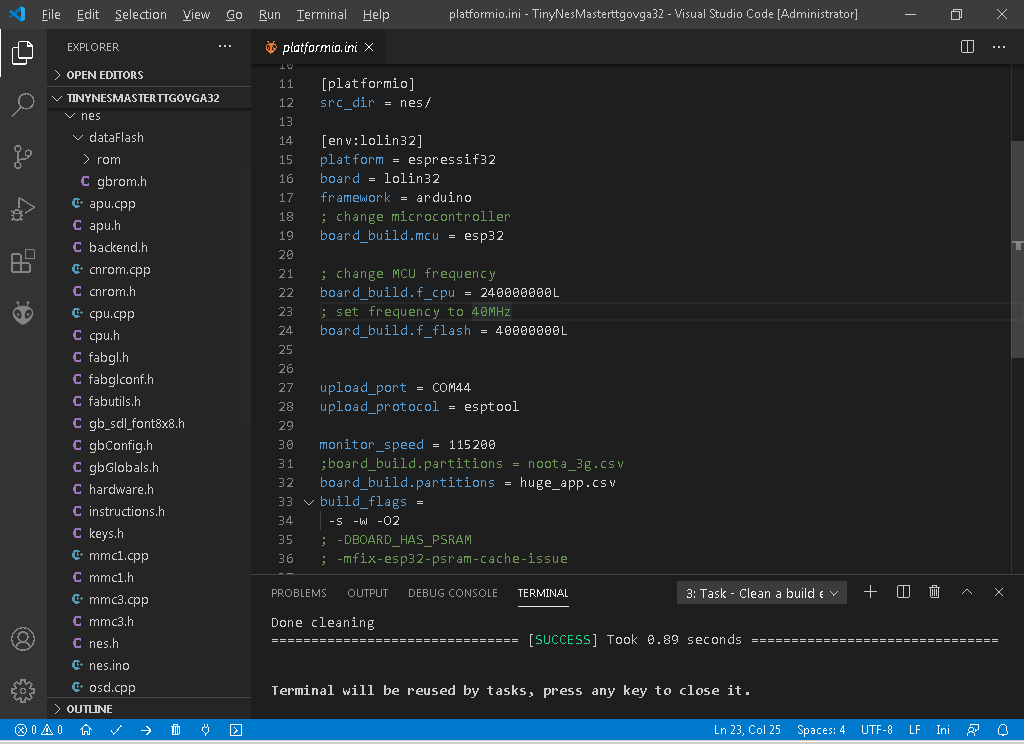
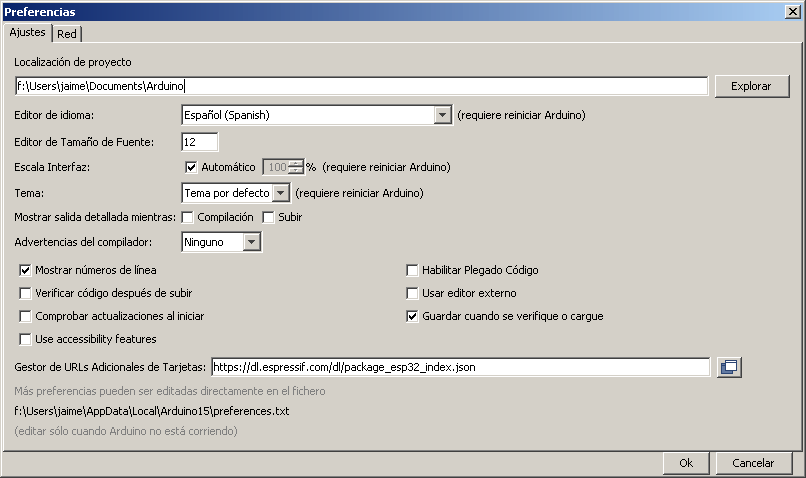
The project is already prepared, so no bitluni or fabgl libraries are needed. We must deactivate the PSRAM option, and in case of exceeding 1 MB of binary, select 4 MB of partition when uploading. Although the code does not use PSRAM, if the option is active and our ESP32 does not have it, an exception will be generated and it will restart in loop mode.
- Select ROM allows you to choose game ROMs.
- Offset X of the screen.
- Change polling milliseconds for video, keyboard, mouse and sound.
- Sound Volume (100%, 75,%, 50%, 25%, 5%)
- Sound active or muted.
- Cpu wait in AUTO mode (set 20 ms per real frame) or wait in ms as desired.
http://tomeko.net/online_tools/file_to_hex.php?lang=en
- use_lib_vga8colors: Forces to use RGB 8-color mode (3 pins). Outputs 8 colors, as opposed to 64 in normal mode (6 RRGGBB pins).
- use_lib_sound_ricoh2A03: A 3-channel mixer is used in dirty mode, emulating the ricoh2A03. Consume un poco de RAM. It requires the reduced fabgl 0.9.0 library, already included in the project.
- use_lib_log_serial: Logs are sent via usb serial port.
- gb_ms_keyboard: The number of polling milliseconds for the keyboard must be specified.
- gb_ms_sound: The number of polling milliseconds for the sound must be specified.
- gb_delay_emulate_ms: Milliseconds to wait for each completed frame.
- use_lib_fix_double_precision: No usar FPU para el cálculo del PLL.
- use_lib_debug_i2s: Detailed information on the initialisation of the video mode.
- use_lib_measure_time: Displays CPU consumption and fps statistics.
- use_lib_vga320x240x60hz_bitluni: Use bitluni's 320x240 video mode.
- use_lib_vga320x240x60hz_fabgl: Use 320x240 video mode with fabgl settings.
- use_lib_vga320x240x60hz_bitluni_apll_fix: Use bitluni's 320x240 video mode with PLL bug fix.
Tool rom2h
 input/
  roms/
   AlfonzoMeleeHB.nes
   ChaseHB.nes
 output/
  dataFlash/
   rom/
Subsequently we must copy the dataFlash directory into the ESP32TinyNesMaster\nes project overwriting the previous dataFlash folder. It is recommended that you clean up the project and recompile.
This tool is very simple, and does not check for errors, so it is recommended to leave the files with very simple names and as simple as possible. The project in PLATFORM.IO is prepared for 1MB of Flash. If we need the 4MB of flash, we will have to modify the entry in the platformio.ini file.
board_build.partitions = huge_app.csvIn the Arduino IDE, we must choose the option Partition Scheme (Huge APP).
